Mobile Art Studio & Overlanding Vehicle Layout
A custom-engineered vehicle layout designed to transport large-scale canvases into the backcountry. This is the heart of my overland plein air operation, built for both survival and high-end art production.
Vehicle Layout
For the sake of simplicity, I’ll mostly reference my own experience and my current vehicle build. Given the infinite combinations of vehicles, lifestyles, goals, and travel companions (both people and pets), I generally recommend finding YouTube creators whose specific setups align with your personal objectives. What I can speak to with confidence, however, is the reality of Subaru and minivan camping.
From a Subaru Outback to a Minivan
My girlfriend and I started this journey in my Subaru Outback. While it served its purpose, the space was extremely limited. Between a small battery setup and minimal storage, there was virtually nowhere inside to move around—especially with only six feet of clearance from the front seats to the rear hatch.
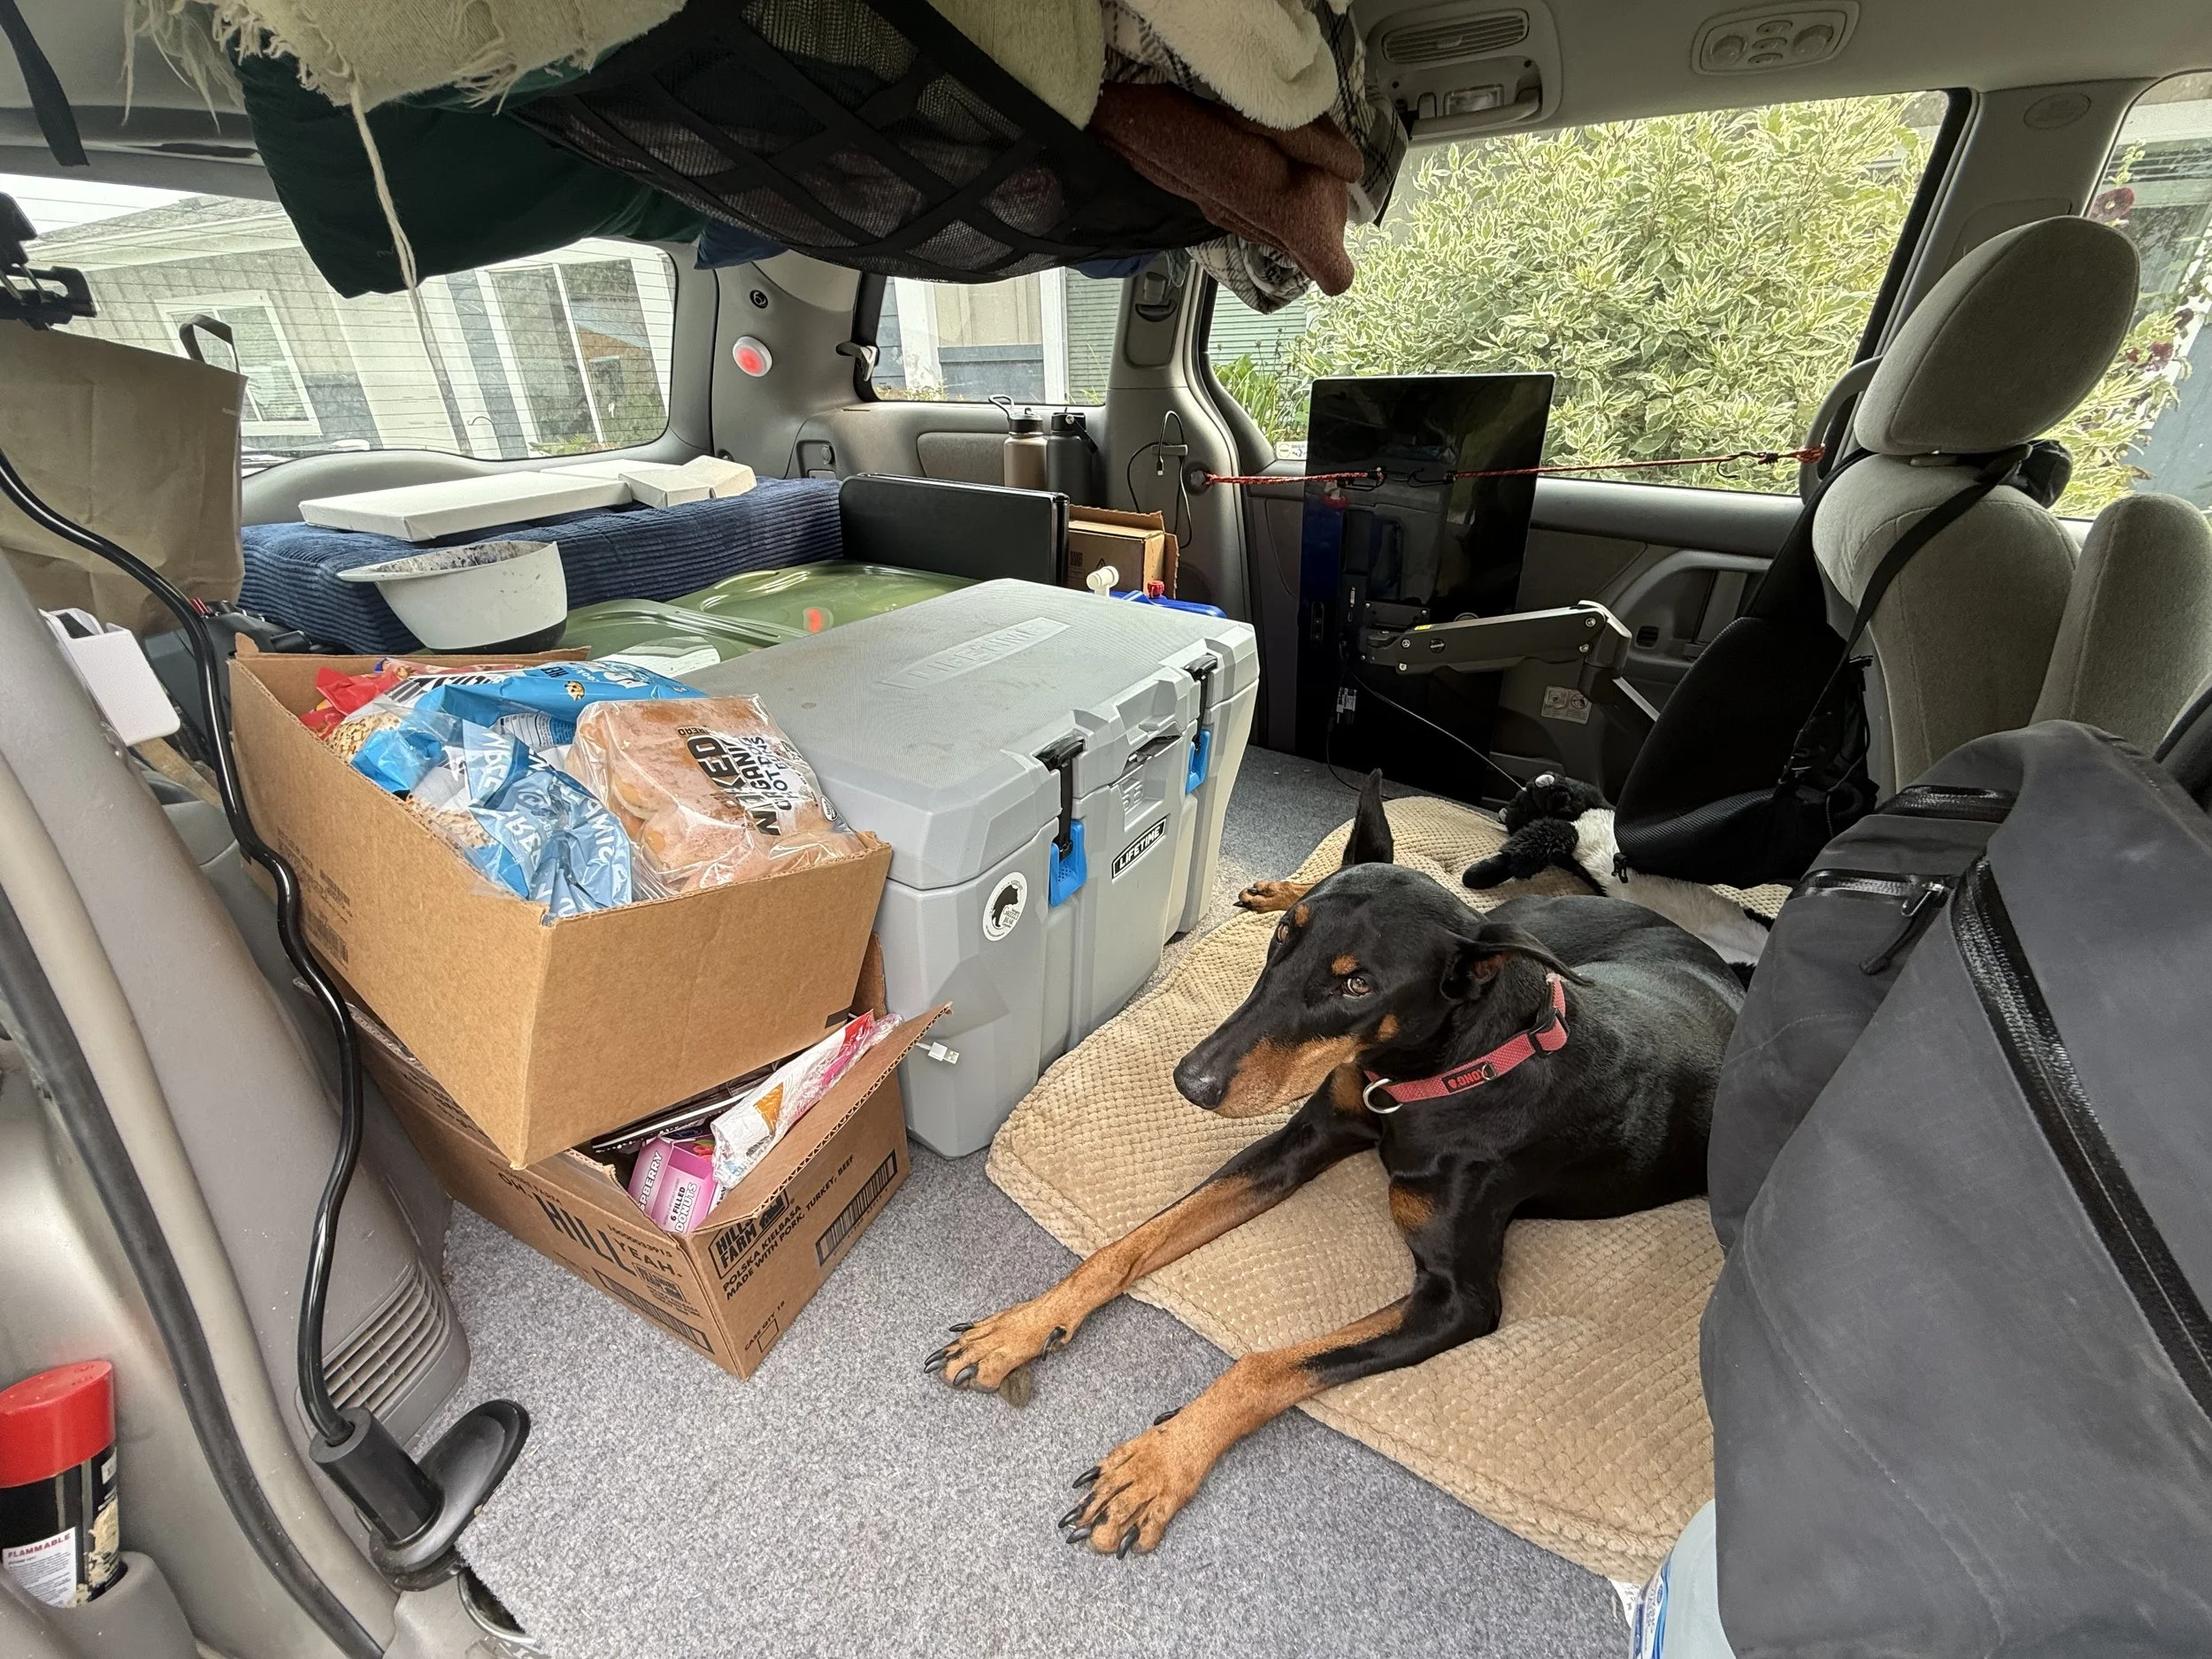
Switching to a minivan was a complete game changer. With nearly ten feet of length behind the front seats, we suddenly had room for a larger bed and a couple of extra feet of dedicated space for our dog, Lula. For a solo traveler, a van provides more than enough room to carry provisions for two weeks or longer.
Initial Interior Modifications
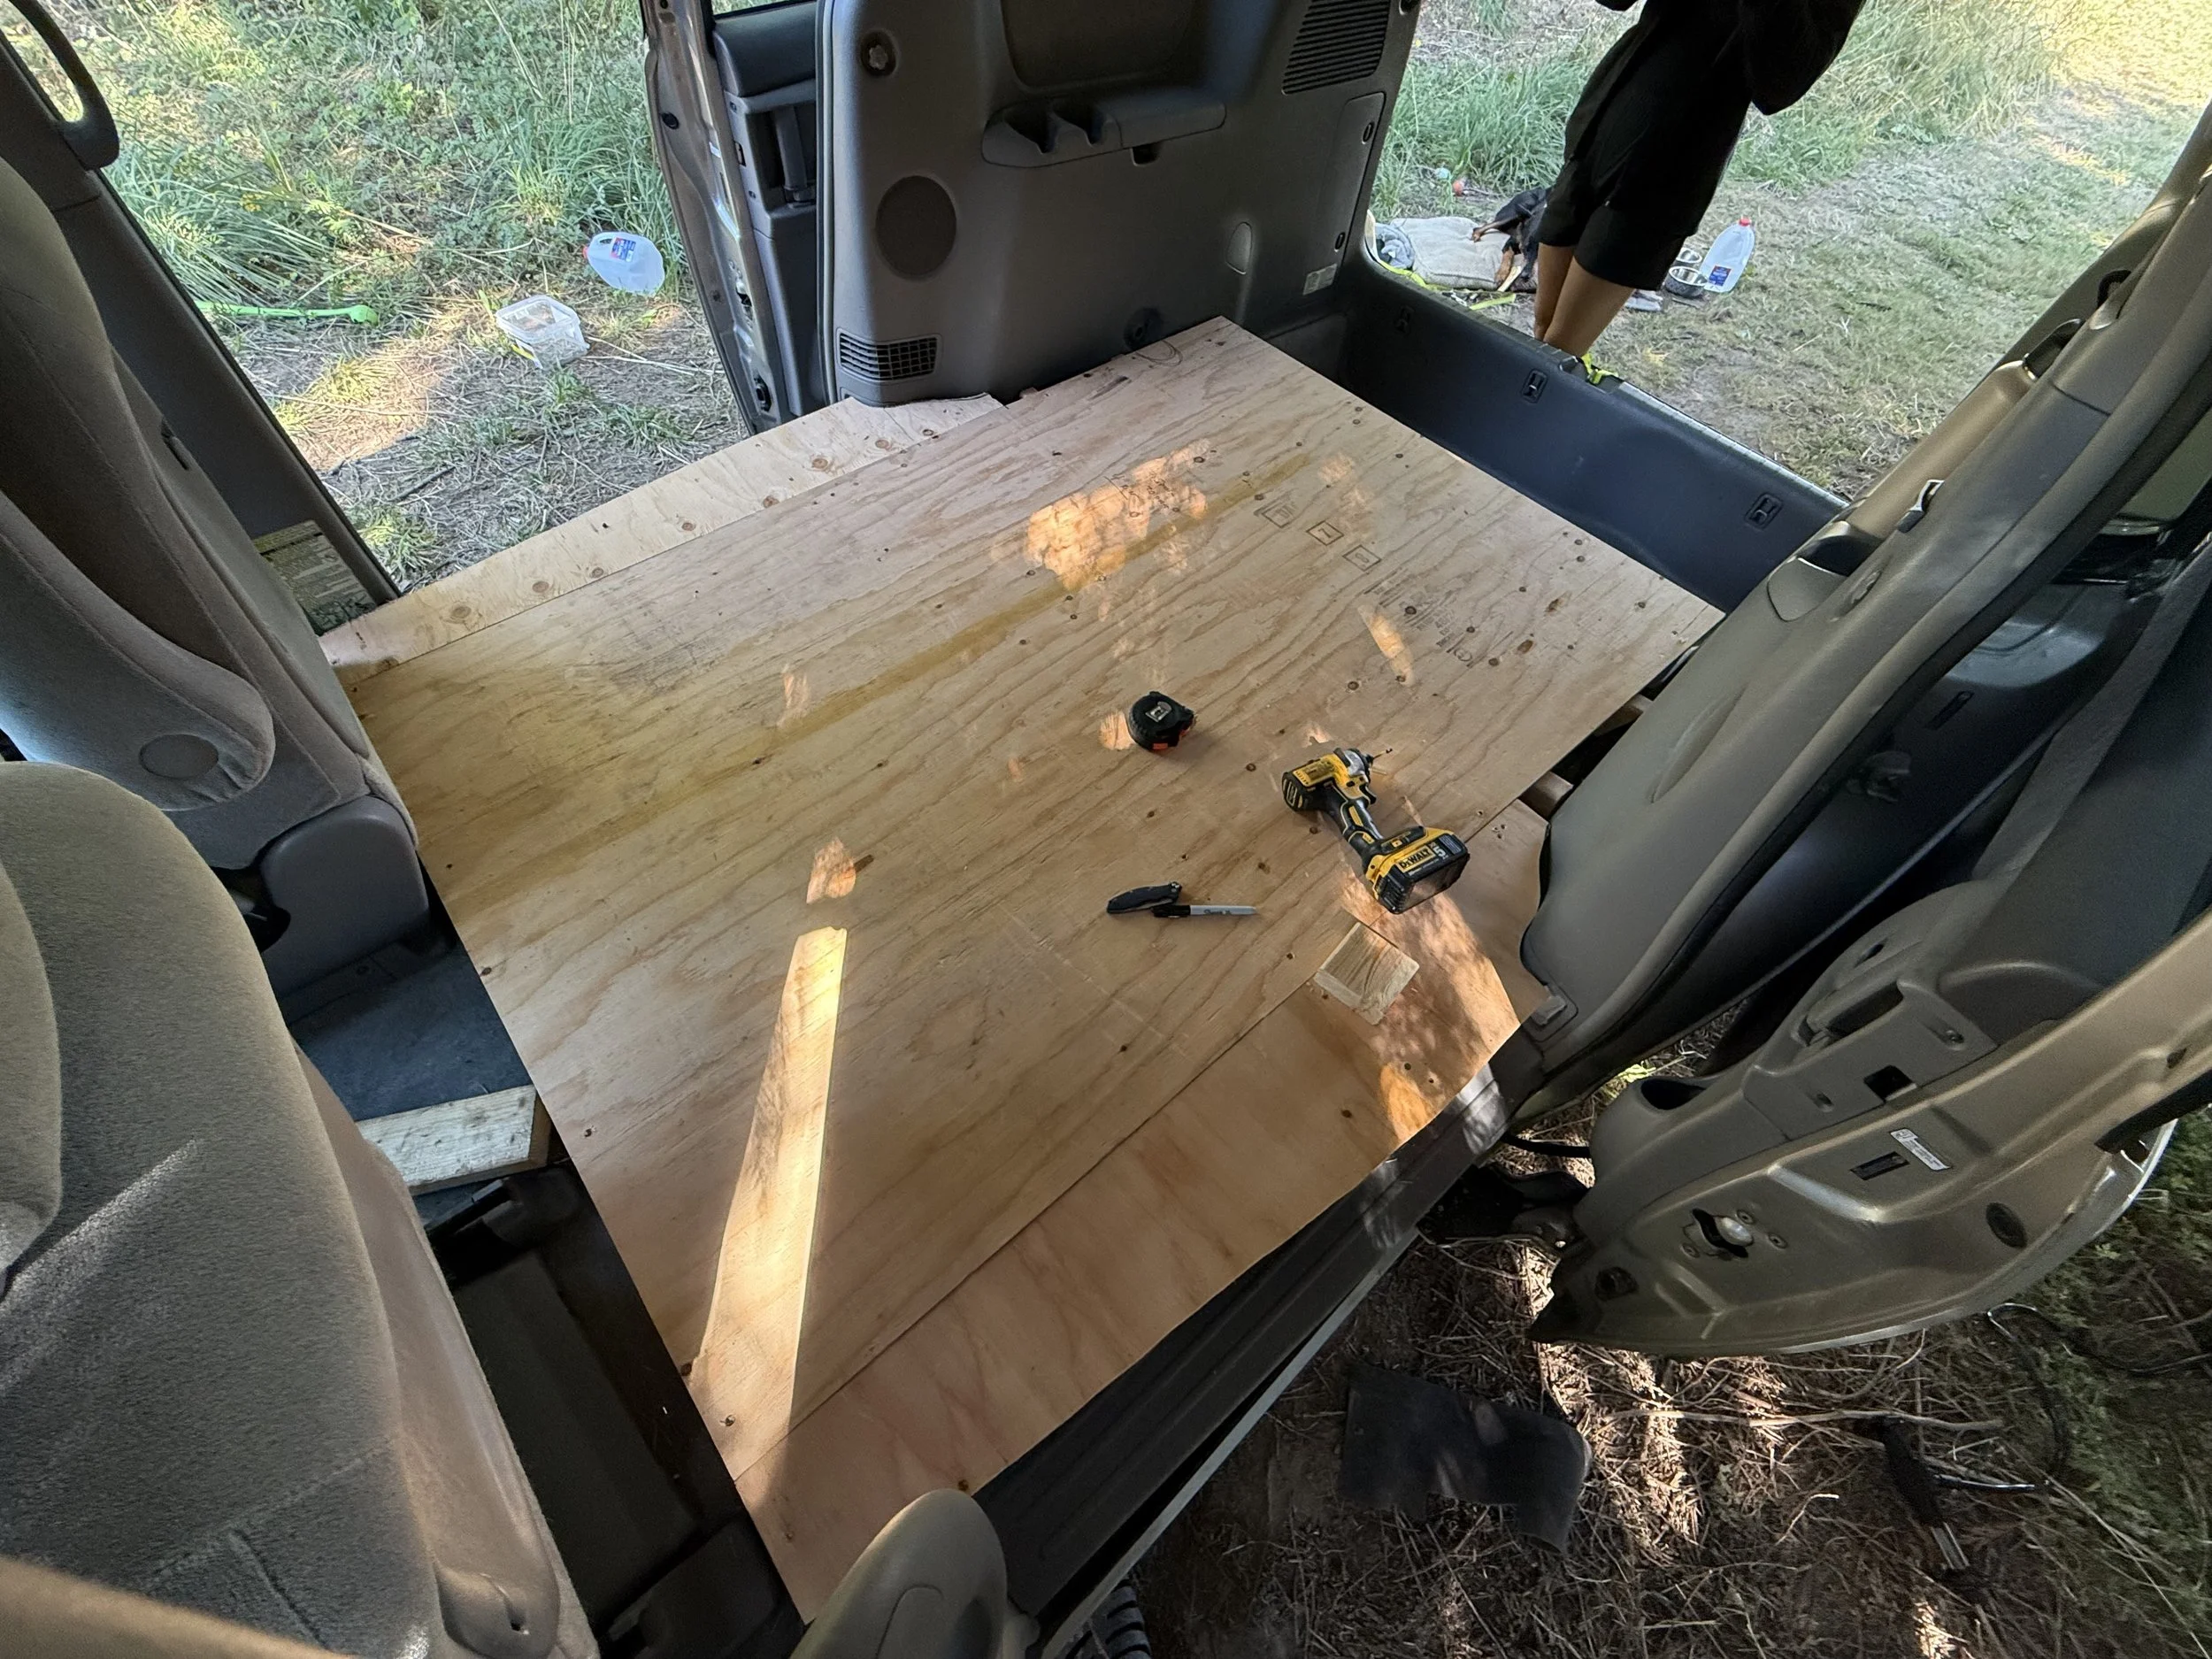
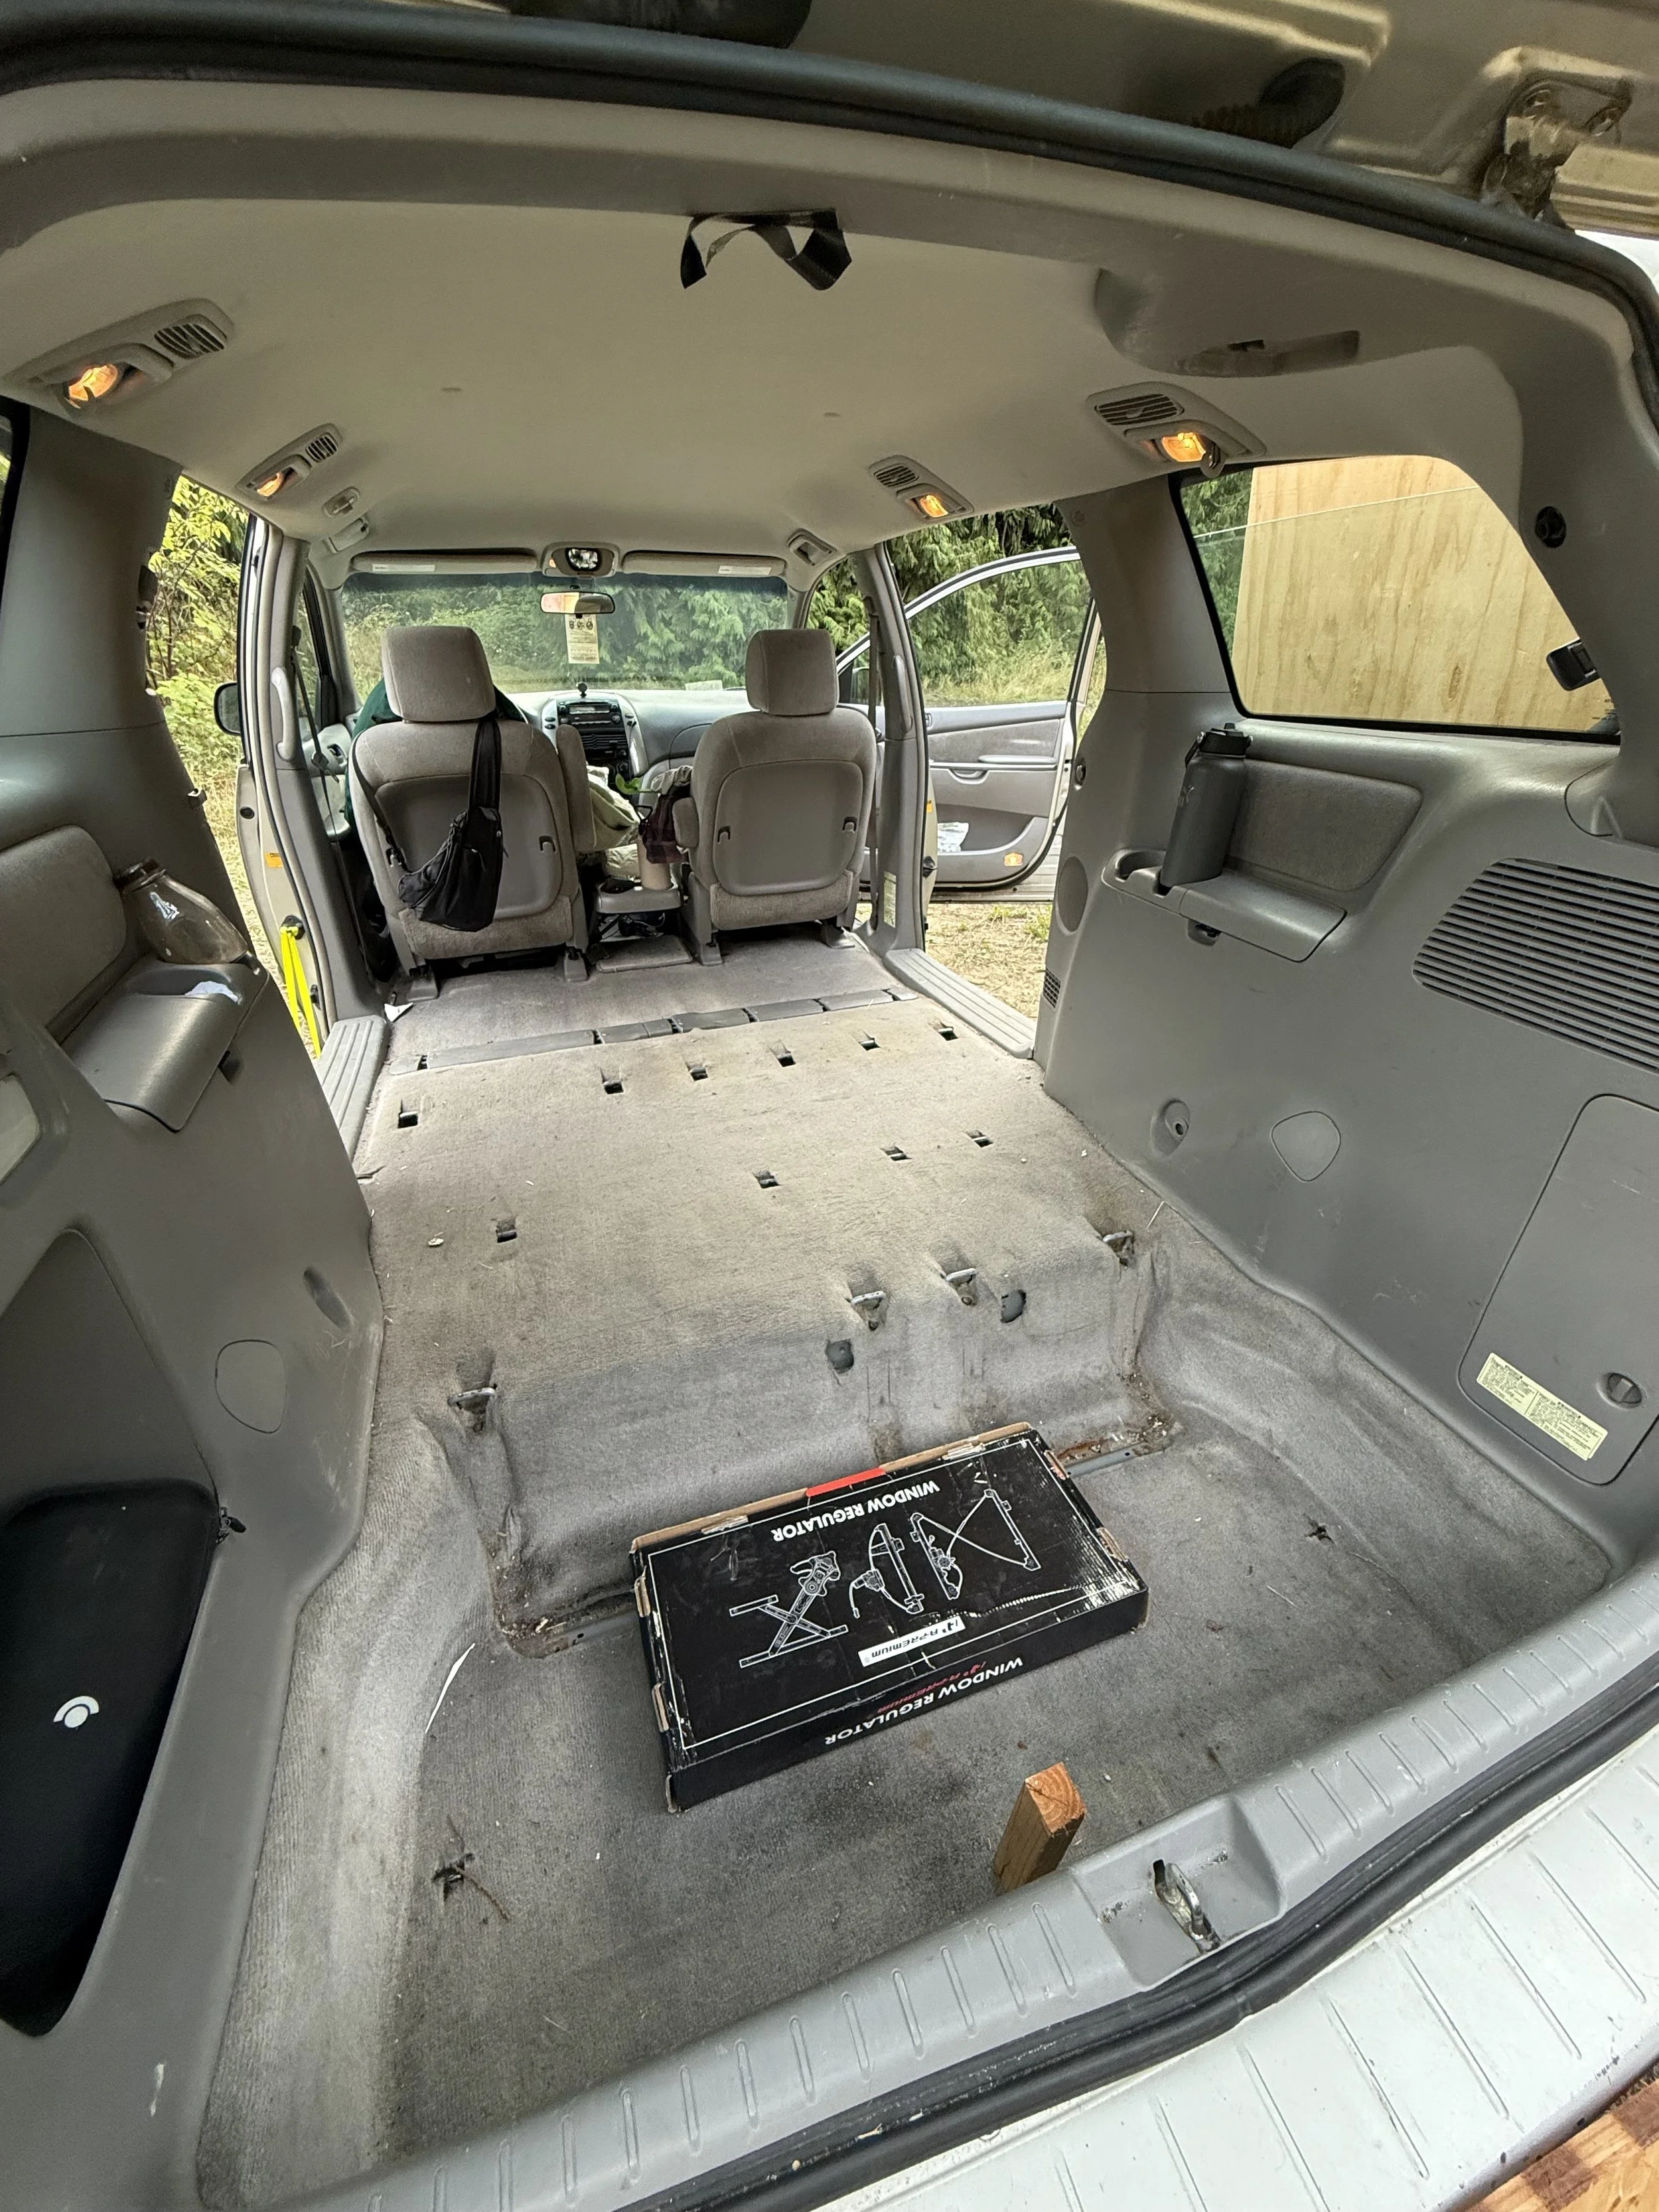
The first step was removing the rear seats, seatbelts, and center console to create a clear, unobstructed passthrough from the front to the back. I then built a raised platform roughly four inches high, using 3/4-inch OSB supported by short 2x4 blocks positioned along the center and edges for stability. To ensure a professional finish, we traced the interior contours of the van before cutting, allowing the platform to fit cleanly against the walls with almost no gaps.
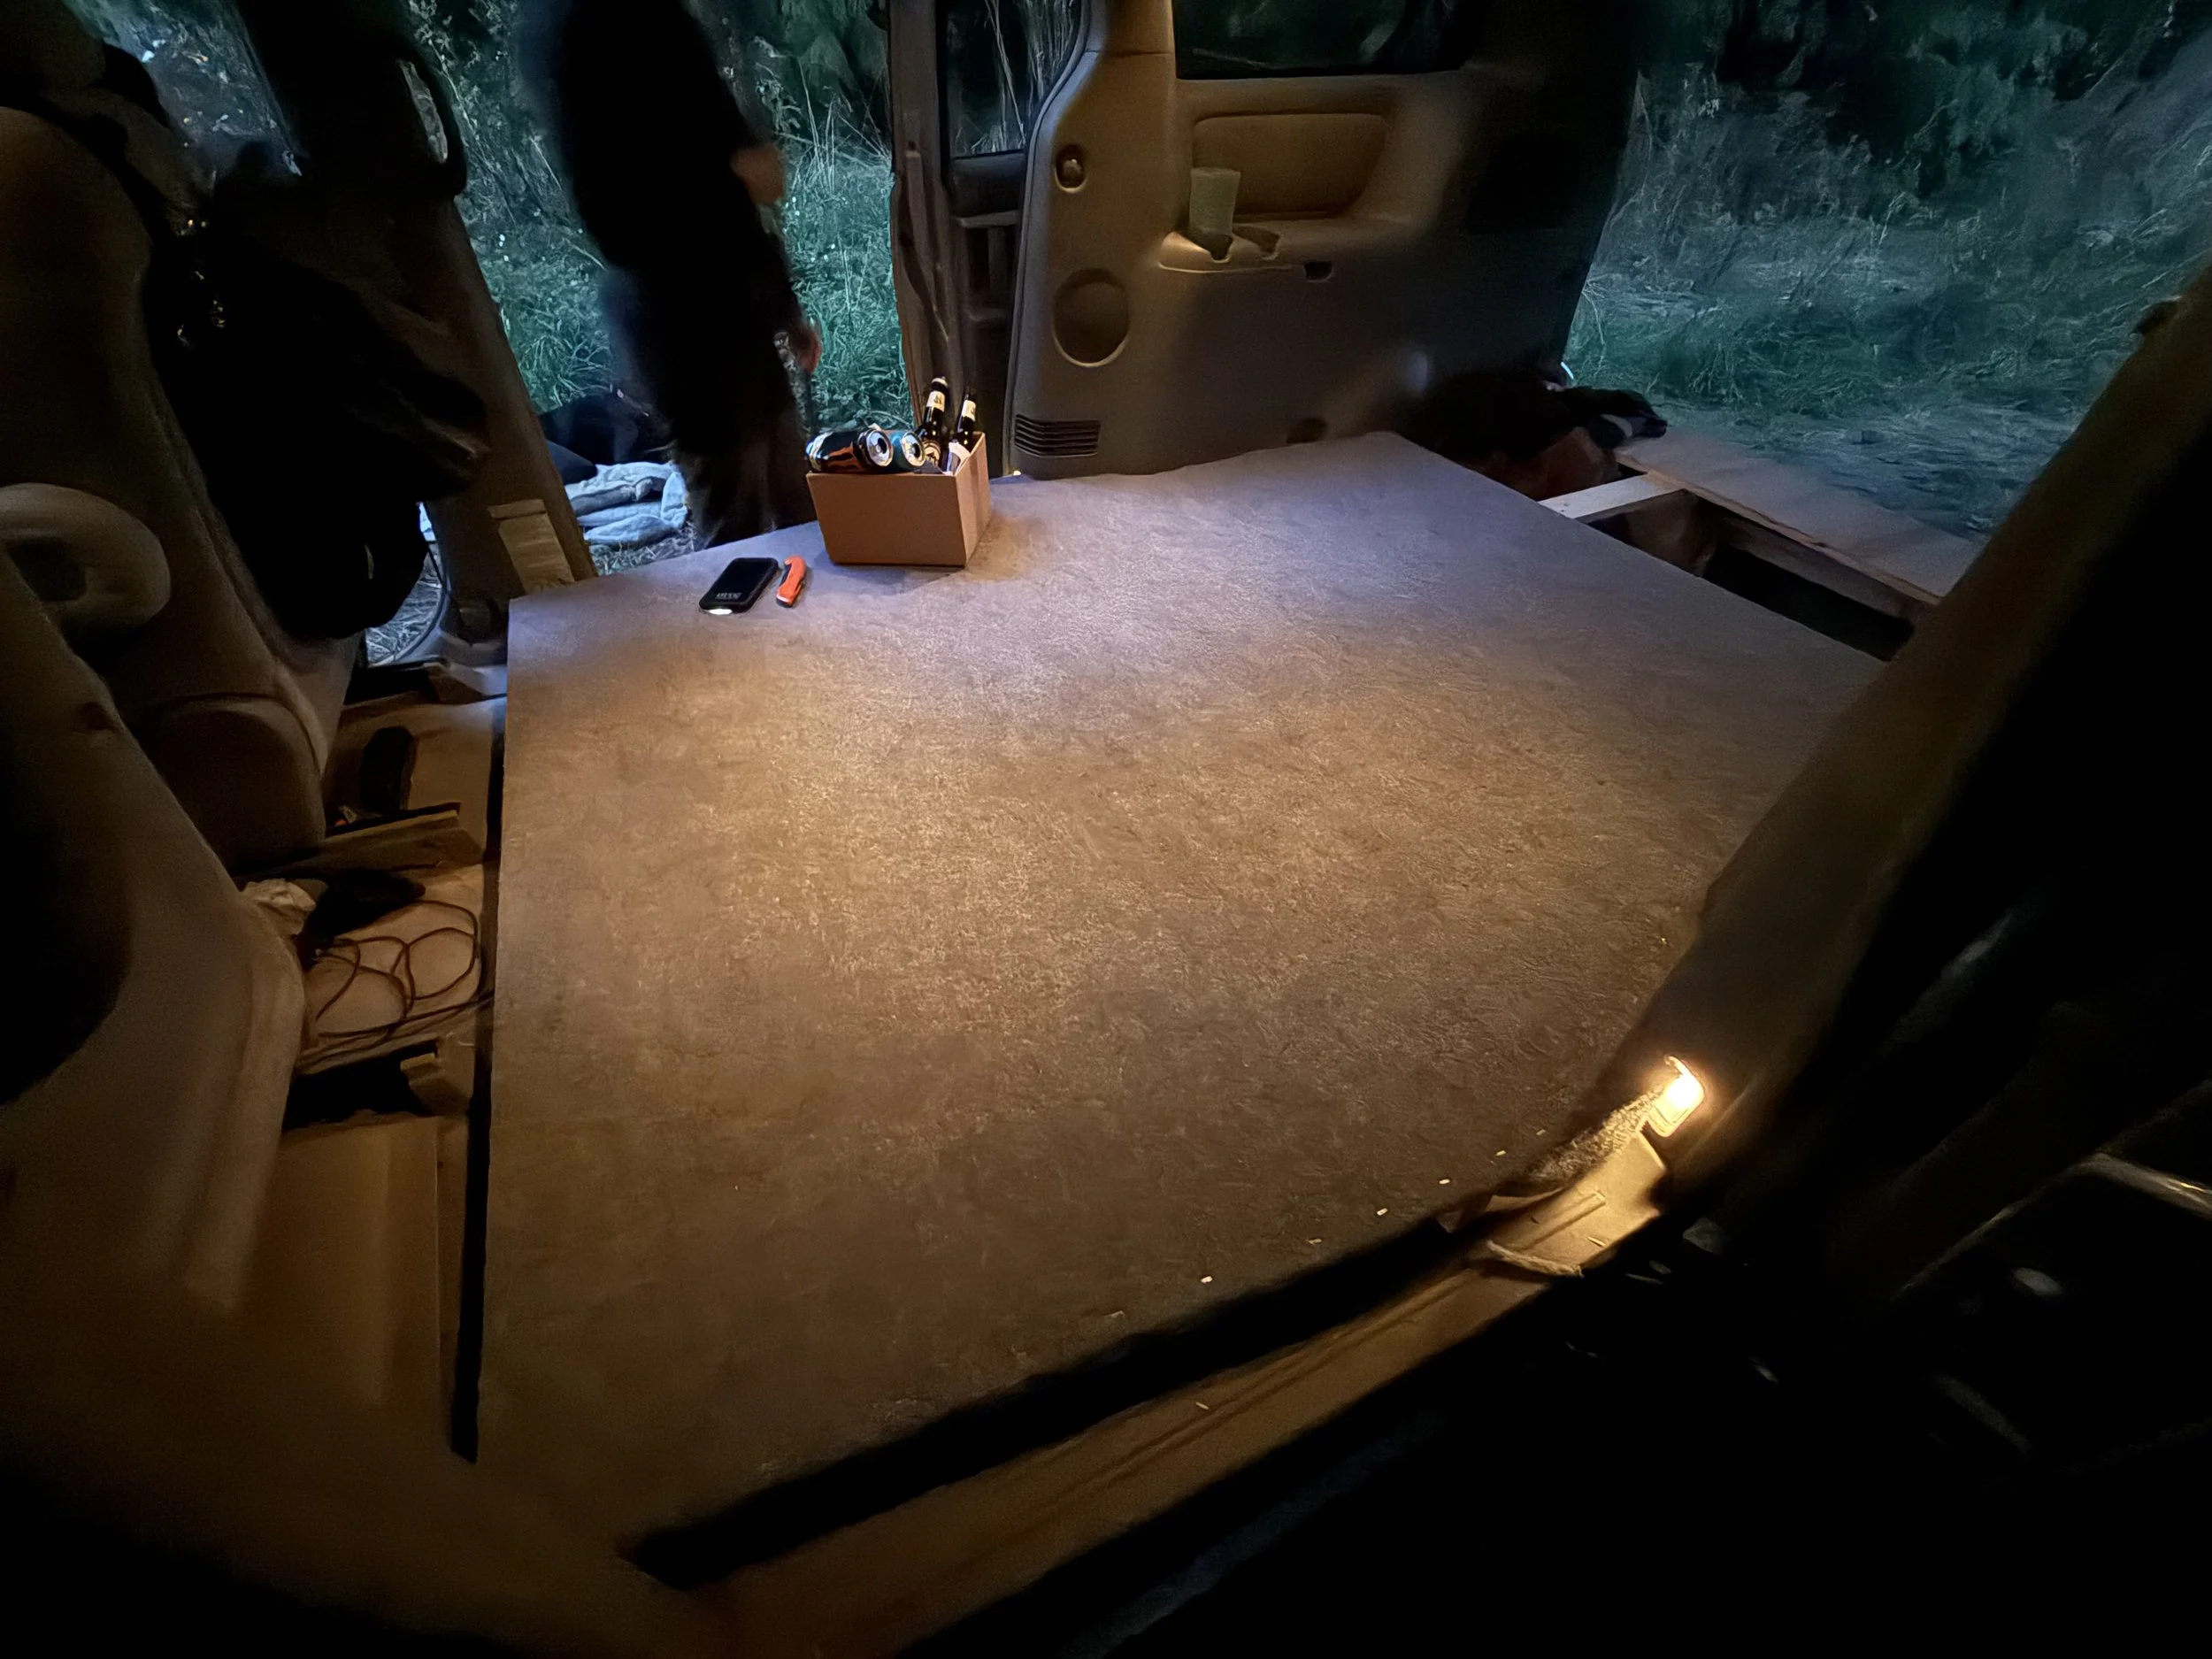
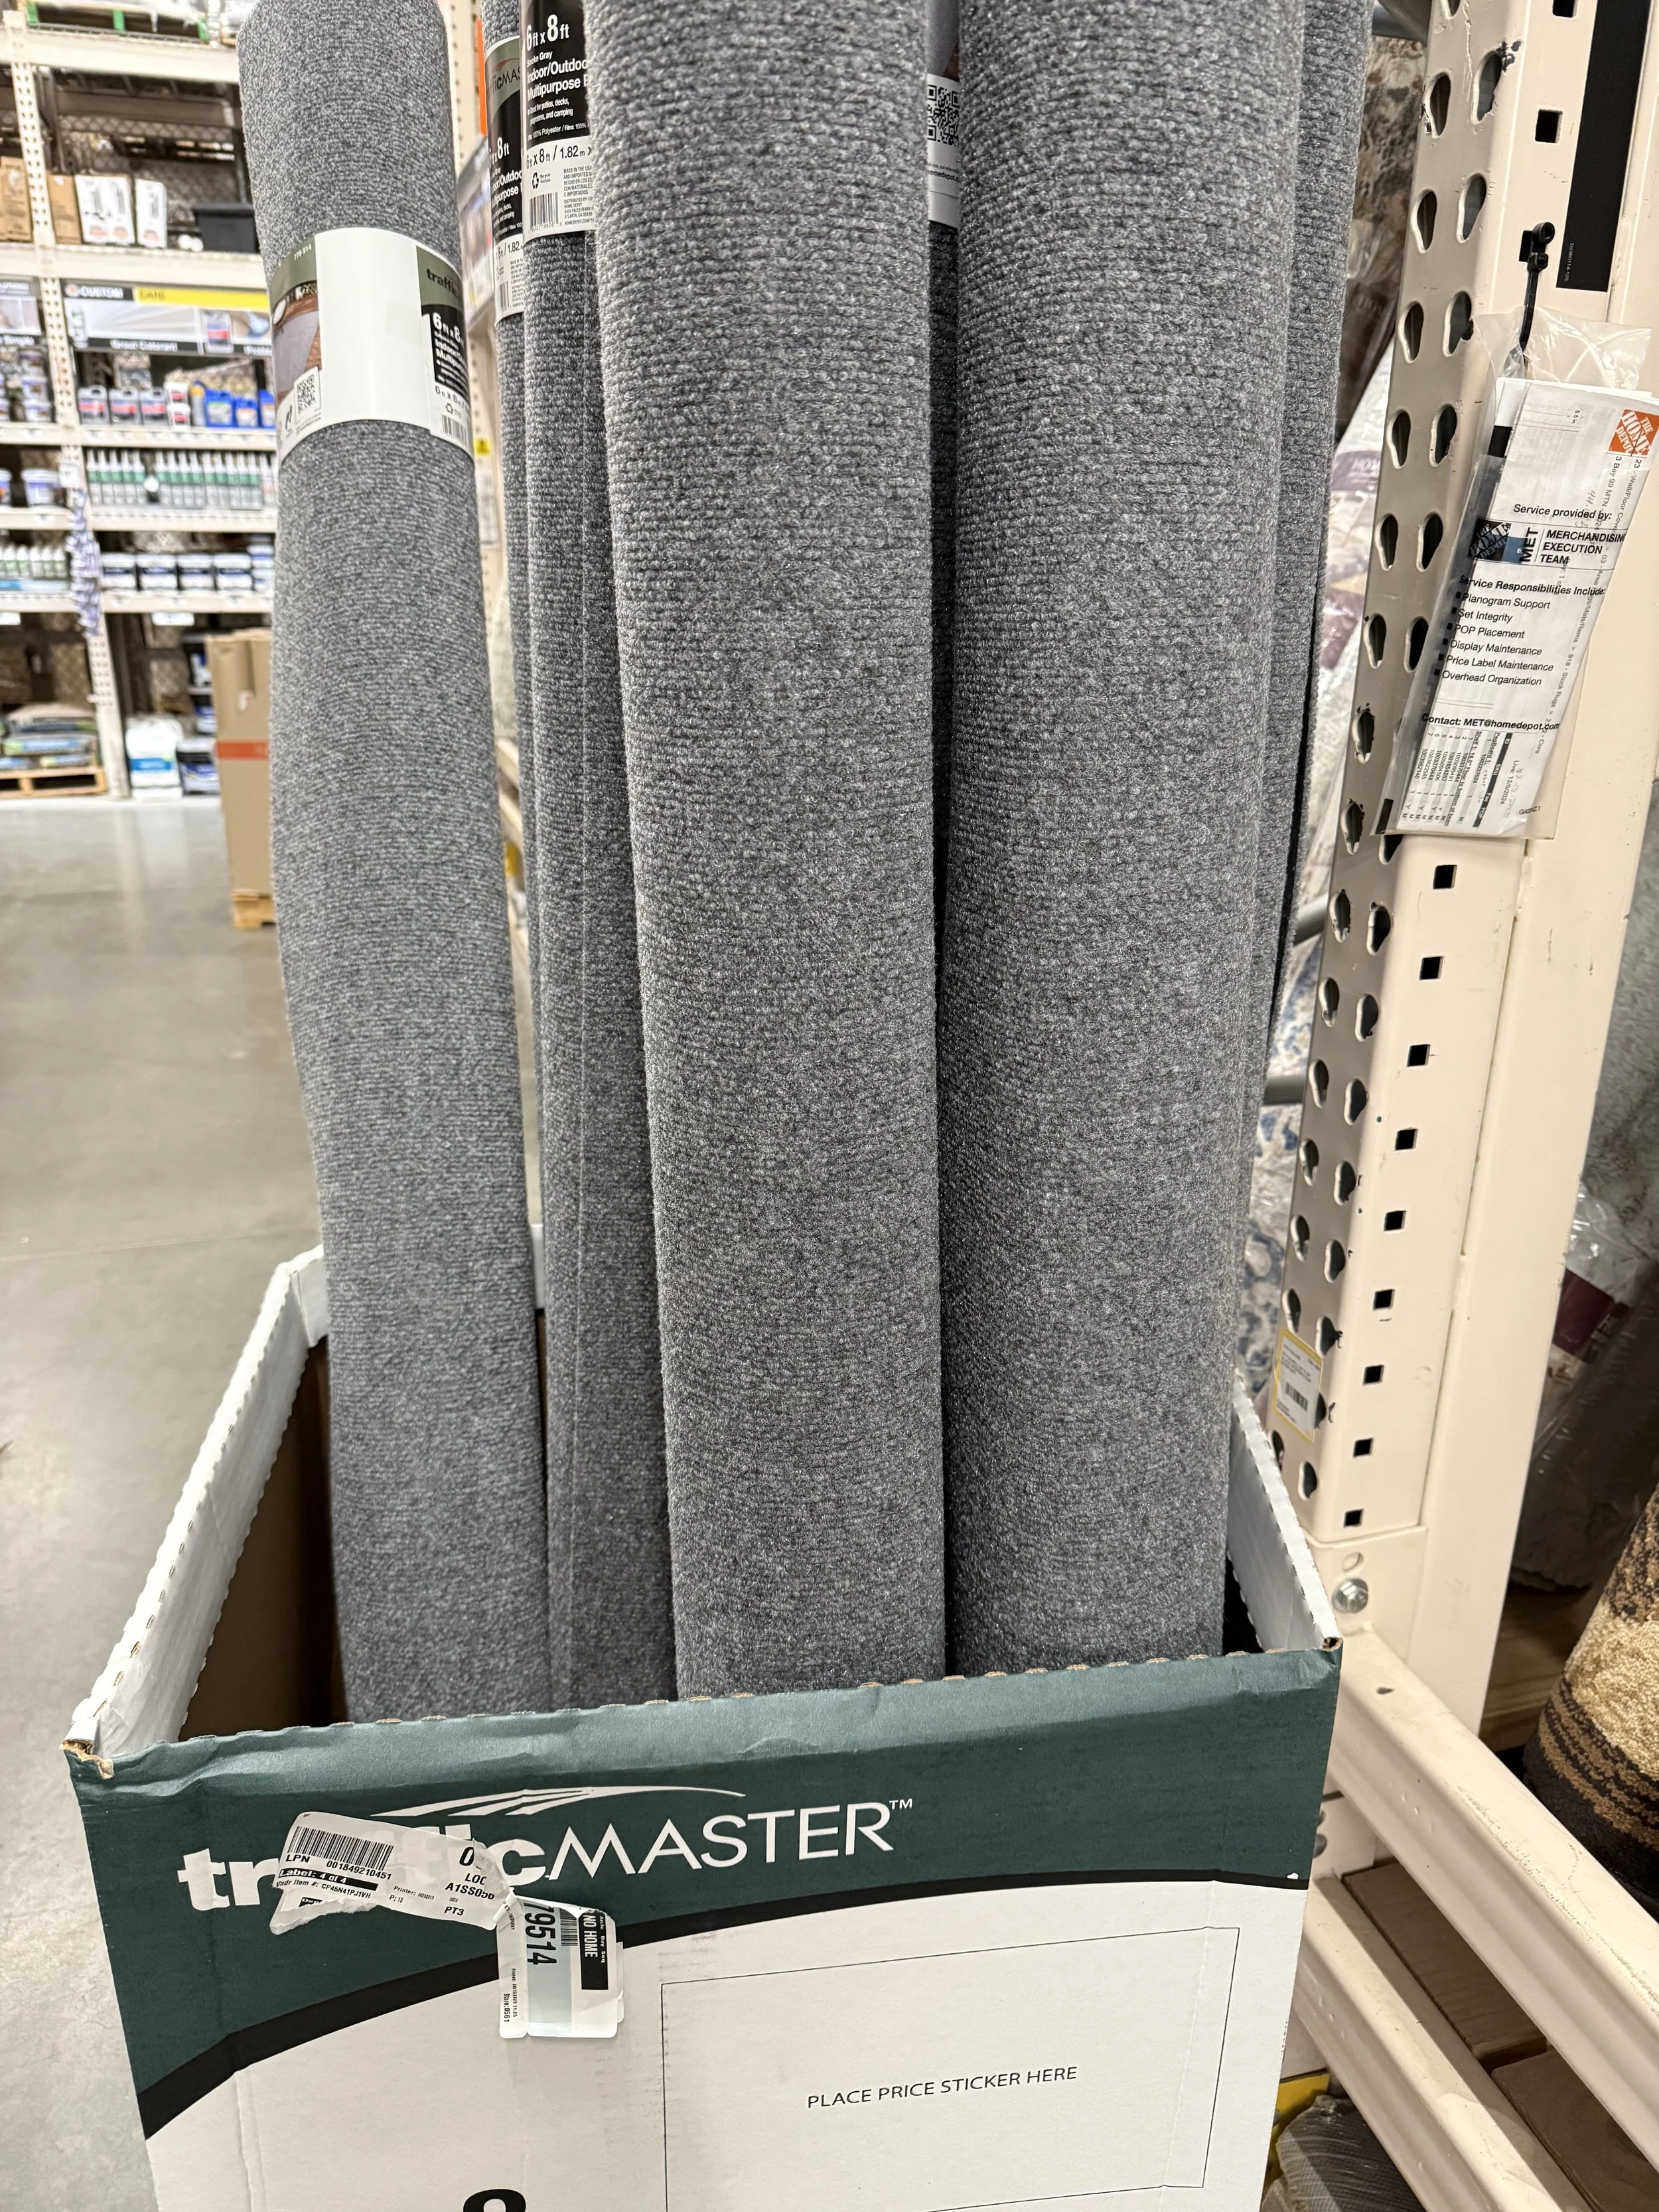
Once the subfloor was secure, I covered the surface with industrial-grade carpet—a cheap, durable, and water-resistant option. It was a straightforward installation using double-sided carpet tape and staples around the edges, resulting in a clean, seamless look for the new living space.
Storage & Battery Placement
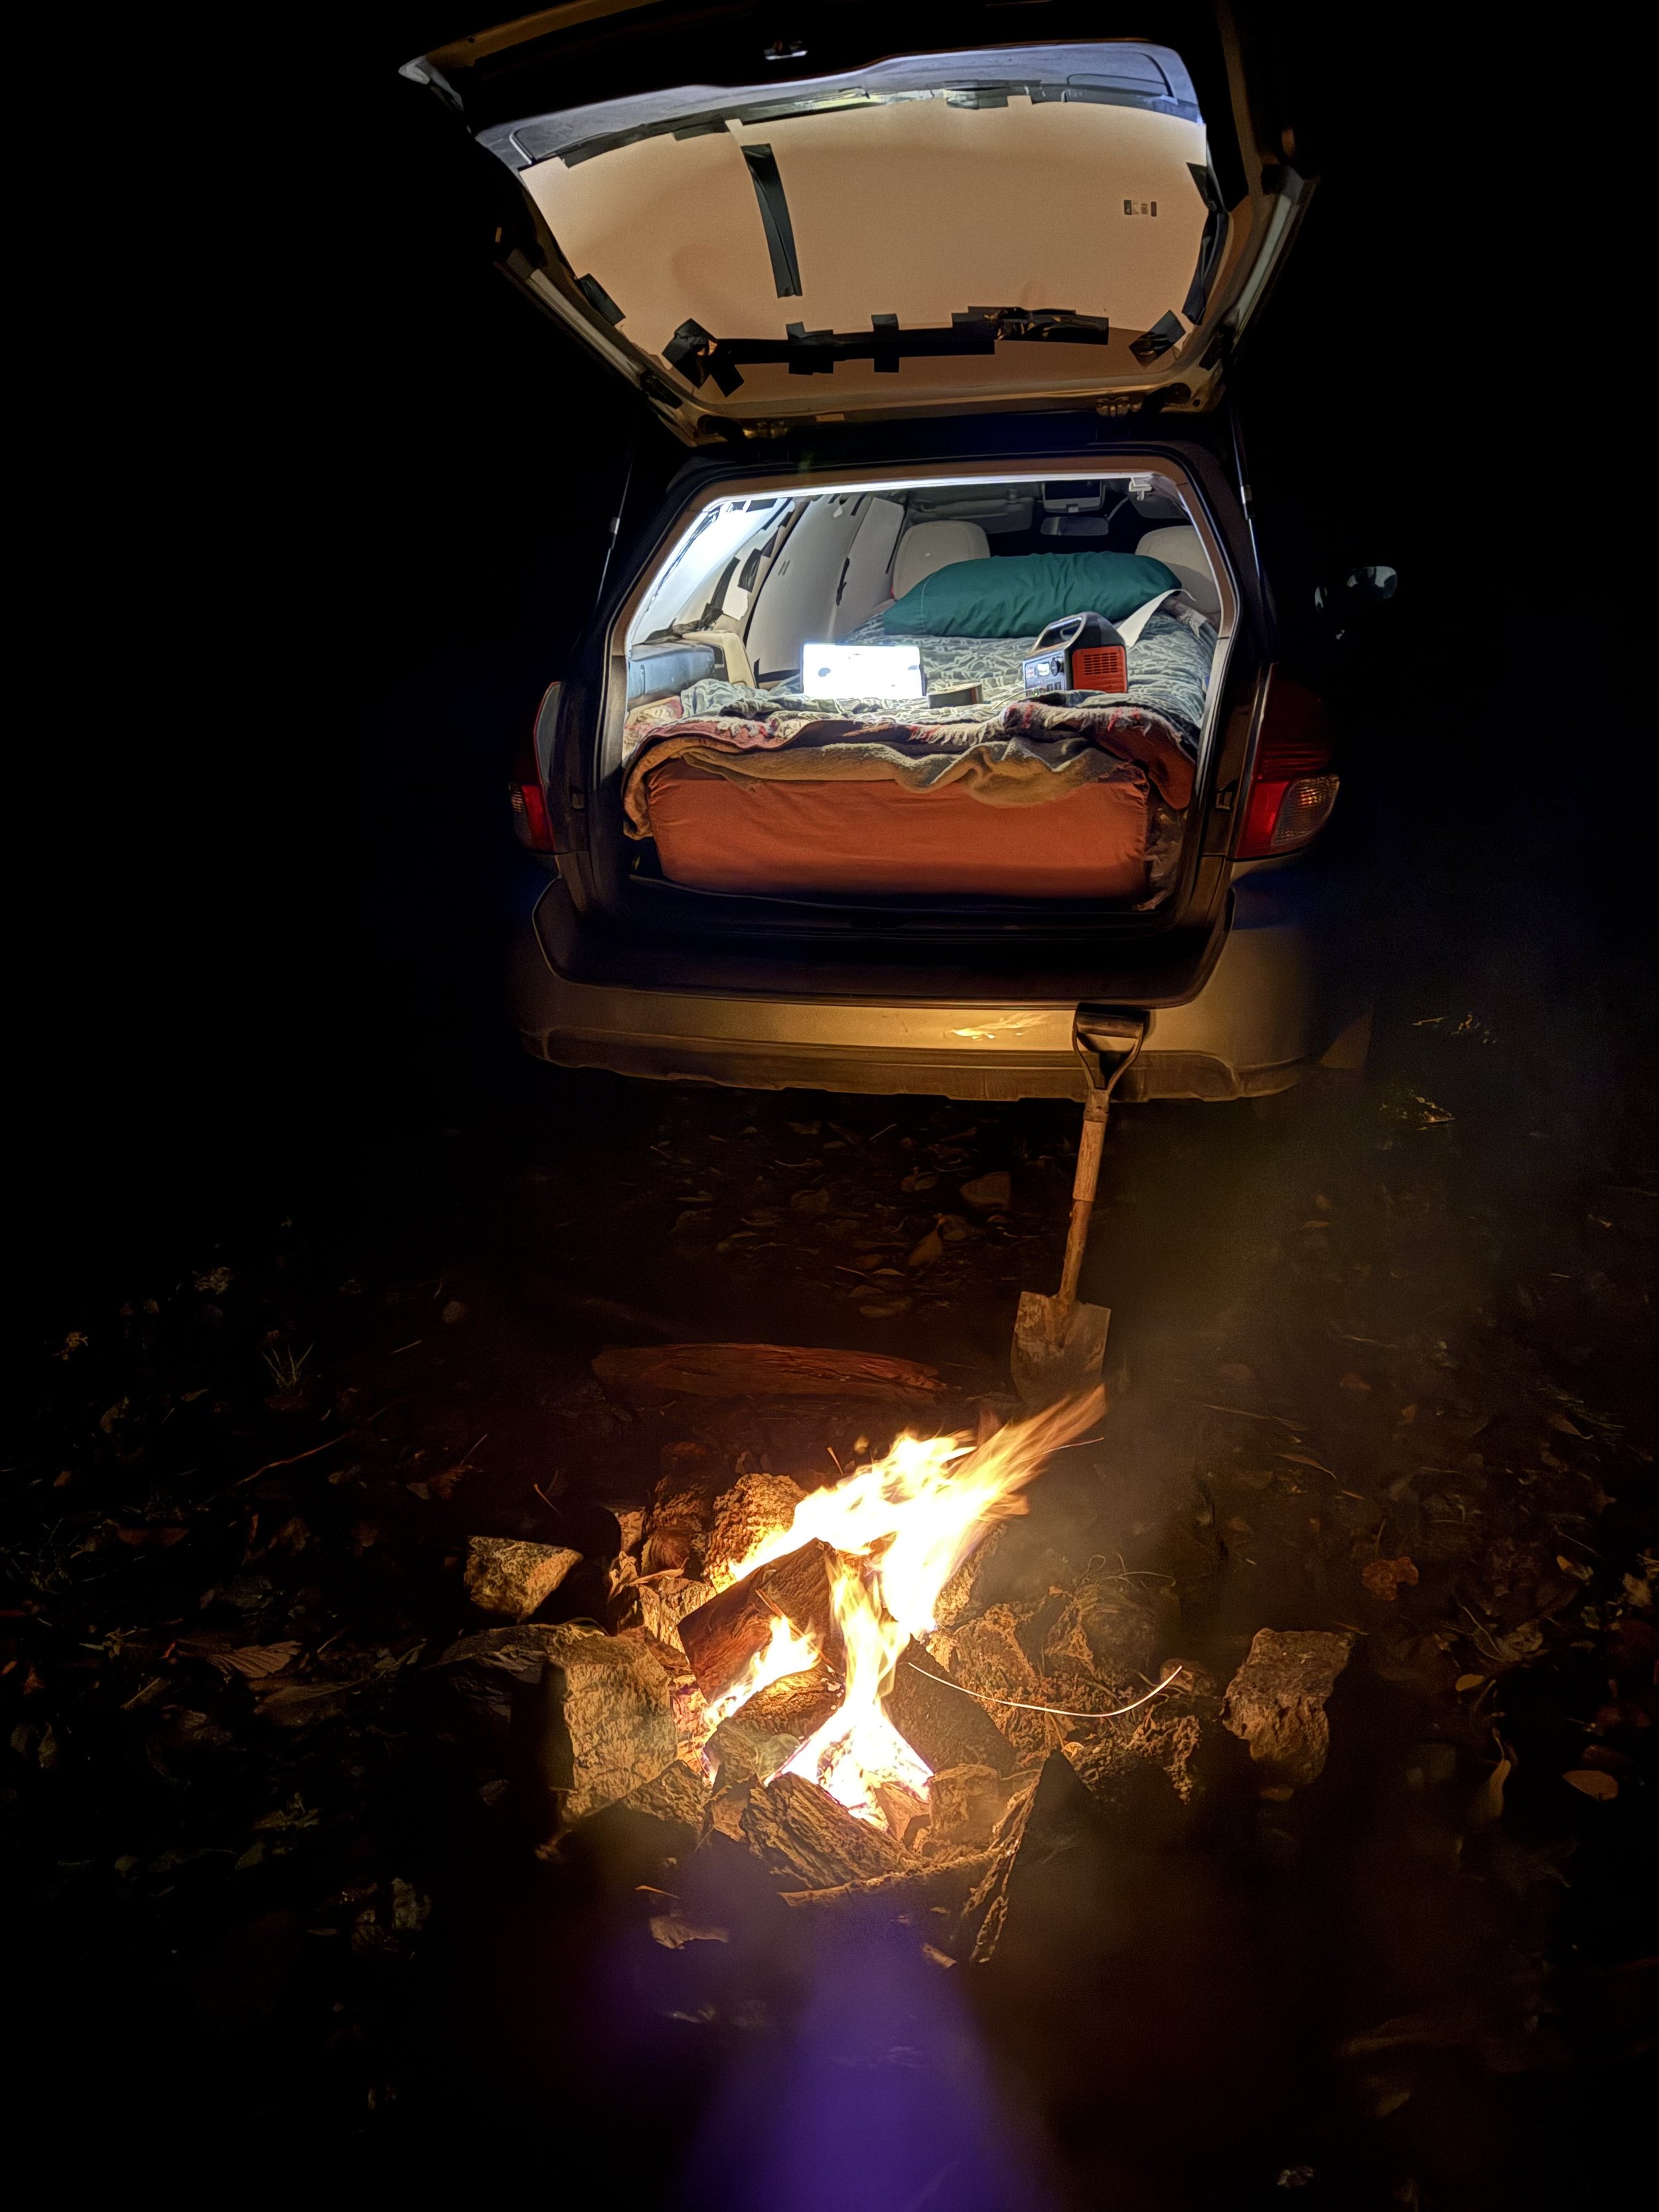
The Toyota Sienna features a deep rear cargo well—approximately 2 feet deep, 2 feet tall, and 4 feet wide. I chose this area for the battery setup; it’s hidden from view, protected from the elements, and perfectly positioned beneath the bed platform. Leaving space around the battery allowed for proper ventilation while still providing room for smaller storage bins and the Xbox.
In a van, large items dictate where everything else lives. There isn't much "wiggle room," and adding fixed surfaces like permanent shelves or countertops locks you into a design choice that is difficult to change. I intentionally avoided that. I prefer a wide-open interior that I can rearrange based on the specific requirements of each trip. While it can be tiring to move the fridge, water jugs, and boxes around, that flexibility is a major asset.
Having a dog also heavily shaped this layout. On solo trips, I would have more options for permanent fridge placement and fixed storage. Traveling with a companion and a pet means needing more supplies and more floor space, making a modular approach essential.


Looking Ahead to Winter
I’d love to push some winter trips, but I can’t push too hard. A small heater would be invaluable, but solar isn’t realistic in deep winter, so shorter trips will make more sense. A negative-degree sleeping bag is also essential.
Future Plans
Overall, the core layout of the van will stay. It’d be great to add a rooftop extension for extra storage or the ability to stand up inside. I also enjoy that this is a cheaper vehicle — it gives me more freedom to experiment, modify, and have fun without worrying.
Eventually, I’d like to upgrade to a larger vehicle and do a more complete build. I could technically gut the Sienna further — removing interior panels would gain a few extra inches — but that’s a big time investment. We’ll see where it goes.